When I was 12 years old, I gained all the parts and skills I needed to make a 2-way intercom system. It consisted of a speaker at the near end, a speaker at the far end, an audio amplifier from a record player, an impedance matching transformer, and a 4PDT "push to talk" switch which reversed the roles of the two speakers.
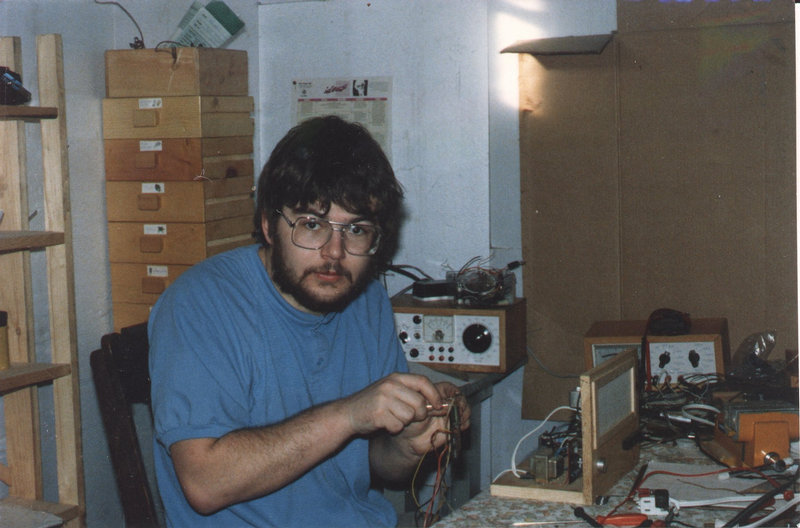
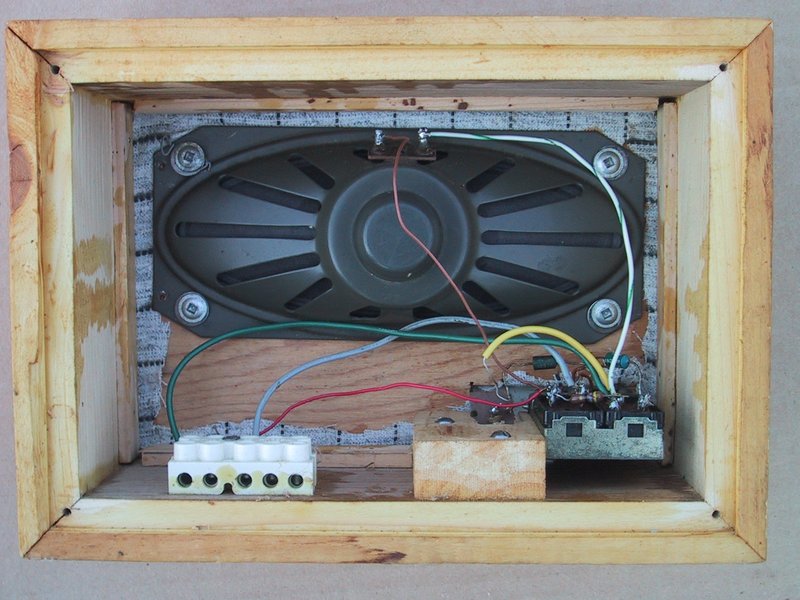
By the time I was 14 or 15 years old, I had a very elaborate intercom system which, connected together out of loose parts, occupied most of the floor space underneath the dresser in my bedroom. It had a ratchet relay to select remote stations, a microswitch "push to talk" switch by my bed which activated a relay to do the actual audio switching, and a remote-on feature, where a button could be pressed on the remote in the kitchen, which would power on my system for 10 seconds so a message could be spoken, after which it shut itself down again. Also the remote station had an indicator lamp to show when the system was on, to confirm call button operation and so people knew when they were being listened to (naturally I also had a secret switch to disable this lamp). The head-end was just loose parts, but the remote in the kitchen was the presentable little unit shown here.
That system used up a lot of my good electronic parts so eventually I disassembled it again and built up a very basic intercom on a permanent basis. Later, in 1988, after I had been into just computers for a while, I got nostalgic for the "old days" of point-to-point wired analog hacks, and dug out this simple intercom system and enhanced it to its present form, in which the call button and indicator lamp on the remote worked again.
|
|
|
|
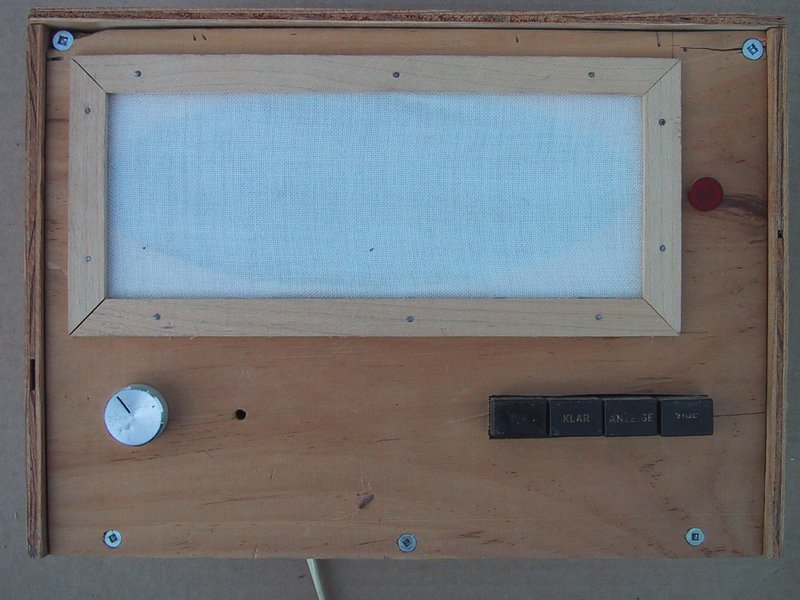
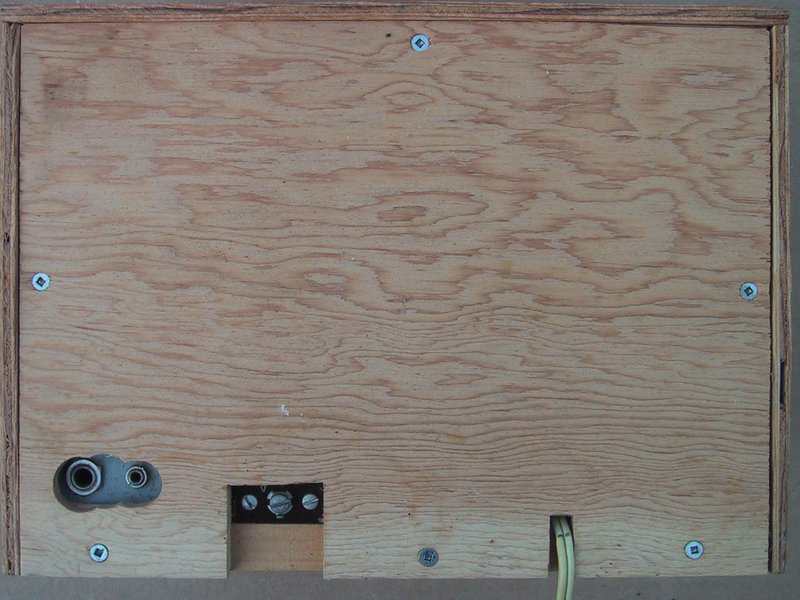
Main station (click
here for rear view)
|
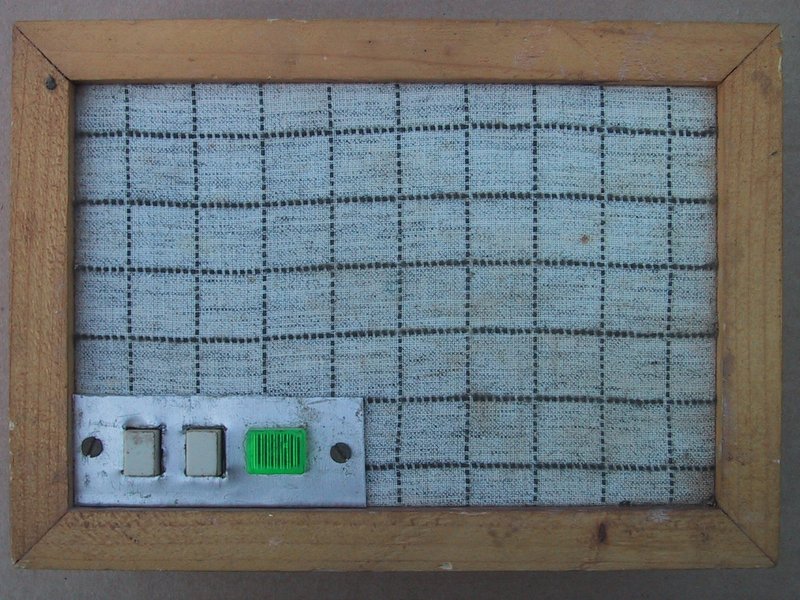
Remote station
|
Only one of these fancy remotes is supported; the other is just a plain loudspeaker with no call button or indicator lamp feature.
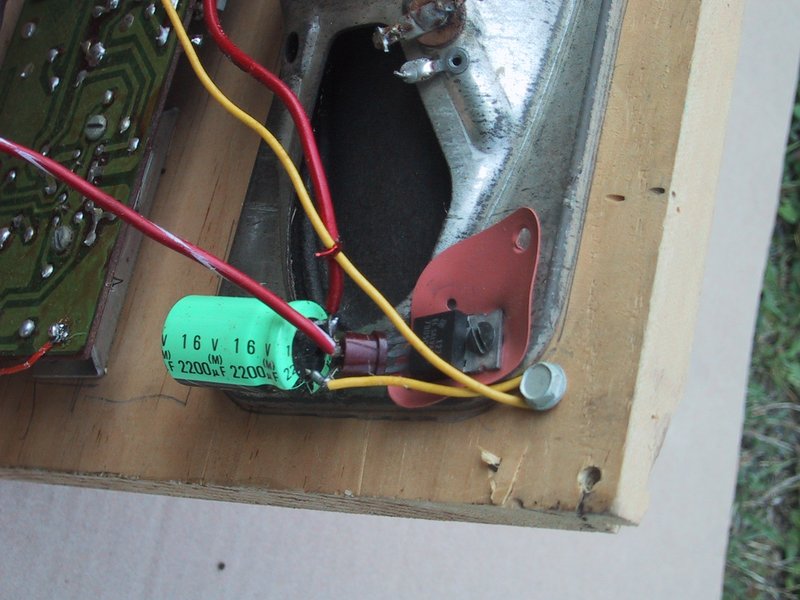
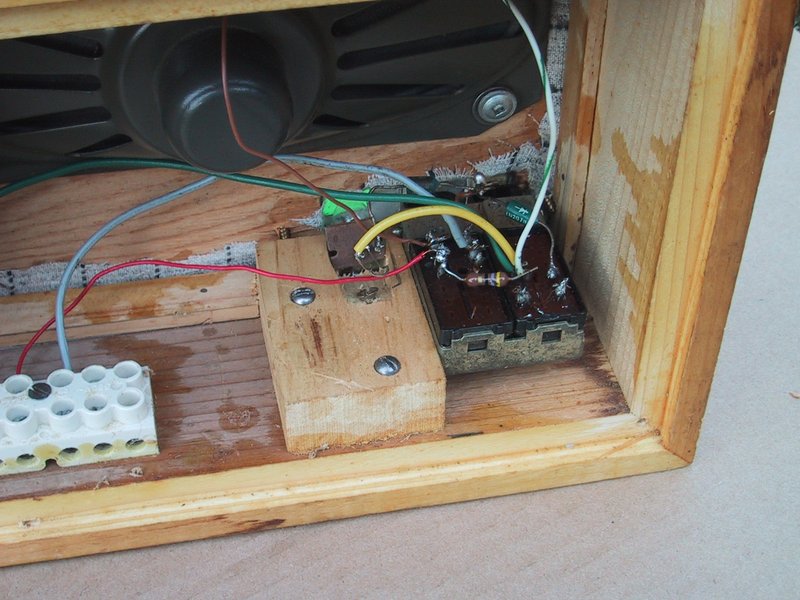
Here are pictures of the guts of the main unit.

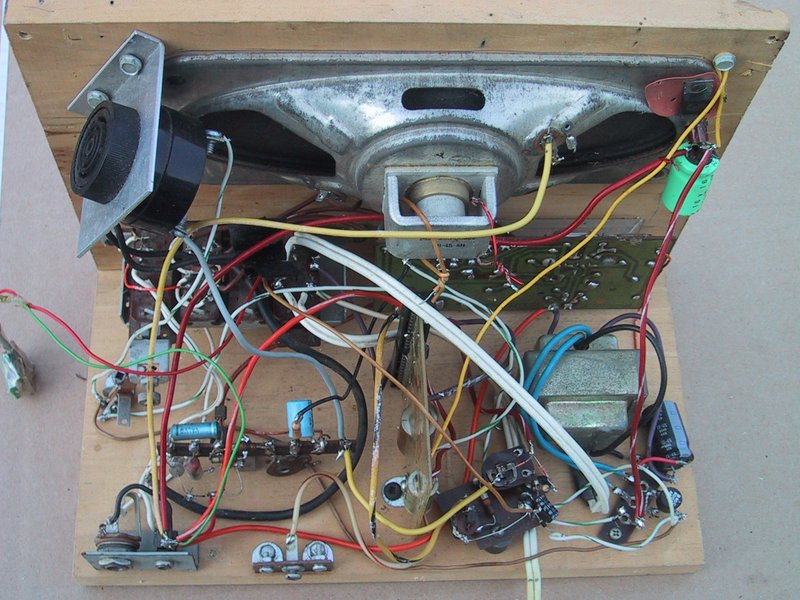
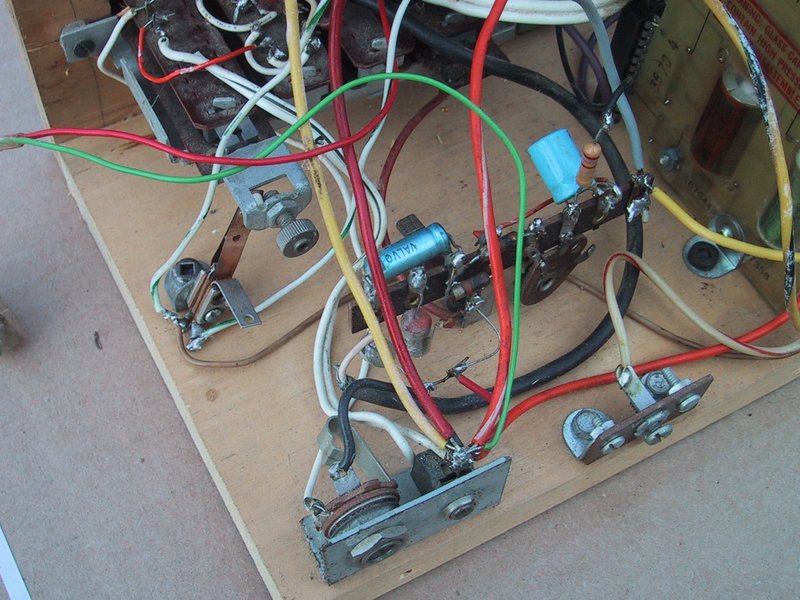
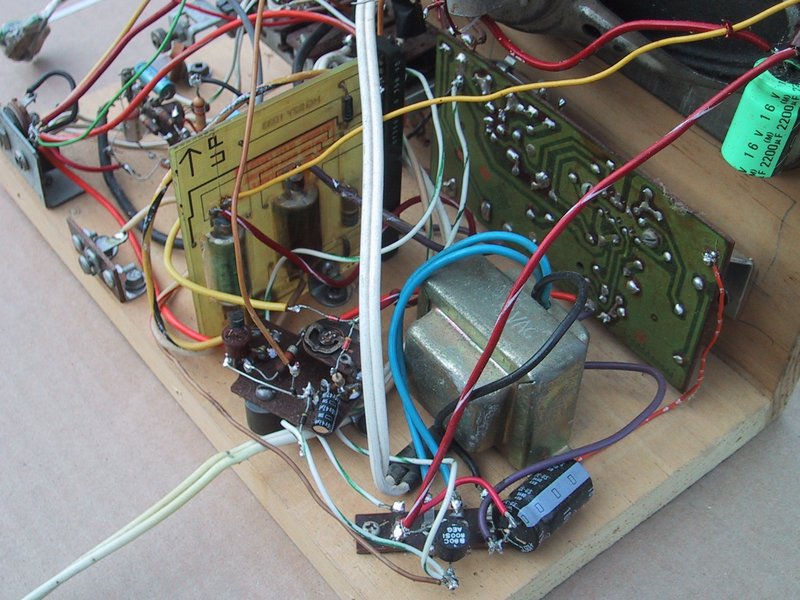
The audio system is the old record player amplifier and a homemade 1-transistor preamp which makes the amplifier sensitive enough for an 8-ohm speaker acting as a microphone without a matching transformer. This preamp is wired on the terminal strip on the left, near the connectors.
The remaining complexity is the remote call system. It is complex because only three wires go to the remote: ground, audio and signaling. The signaling wire has a negative voltage on it when the system is off. The call button is connected through a diode, to short out this negative voltage when pushed. This powers the system up. The signaling wire then switches to a positive voltage, which lights the indicator lamp through another diode. The rear reed relay performs this switchover.
The front reed relay bypasses the AC power switch to turn the system on. A 9V battery is used to bootstrap the whole thing. I had an aversion to any part of the system being on all the time, specifically to a power transformer humming away when not needed, so when the button is pushed, the relay is energized using battery power. But the instant the power supply comes on it takes over, so that current is drawn from the battery only for a tiny fraction of a second. This way the battery lasts basically forever.
The 1-transistor circuit near the transformer is a timer which energizes the bypass relay for only 10 seconds after powerup. This way, if the system is not turned on via the main power switch, it shuts off again after the timeout.
The subassembly at the top right corner of the speaker is a voltage regulator to make the DC powering the remote indicator lamp perfectly clean and hum-free, since it shares a wire with the audio.
The sonalert is alternative signaling device, which is used if the system happens to be switched to remote B, and the signaling button is pushed on remote A. In this case, powering the system up would not cause the desired effect, so the sonalert is just beeped. Also the indicator lamp on remote A is disabled when remote B is selected. The necessary switch contact for this was improvised using a leaf switch.
Here are pictures of the guts of the remote unit.
This is the culmination of my push-to-talk intercom building history. Four years after I put the finishing touches on this, I built my telephone PBX.
The parts for this were scrounged from all over, from broken record players, television sets, from surplus stores and so on. This is from the tail end of a different era, where projects didn't use ICs or digital logic. Now, 15 years later, this is as obsolete as steam locomotives.